In the last post, I created a repository and uploaded a public key.
I proceeded to set up an ssh connection of the public key and private key.
This time, we will create a Docker Image using Codepipeline for CI/CD and
save the image to the repository.
Using Codepipeline
1. Use the command below to change git configuration information.
Create your email, name and git branch main. The command below provides the necessary information when committing to AWS Codecommit.
|
sh-4.2$ git config --global user.email "you@example.com"
sh-4.2$ git config --global user.name "Your Name" sh-4.2$ git config --global init.defaultBranch main |
2. Use the command below to clone the repository in AWS to your home directory. Clone the k8s-testconfig created earlier.
|
sh-4.2$ cd ~ && git clone ssh://$KEYID@git-codecommit.us-west-2.amazonaws.com/v1/repos/k8s-testconfig
Cloning into 'k8s-testconfig'... Warning: Permanently added the RSA host key for IP address '52.94.210.119' to the list of known hosts. warning: You appear to have cloned an empty repository. |
3.Use the command below to move to the cloned home directory.
|
sh-4.2$ cd k8s-testconfig/
sh-4.2$ |
4.Copy the application files to be used from website-example using the command below.
|
cp -R /lab/task3/website-example/* ./
|
5. After cloning is complete, look at the cloned files using the command below to check the DockerFile to create the Docker Image and the necessary files.
|
h-4.2$ ls -al
total 4 drwxr-xr-x 4 ssm-user ssm-user 47 May 1 10:51 . drwxr-xr-x 6 ssm-user root 86 May 1 10:48 .. drwxr-xr-x 7 ssm-user ssm-user 119 May 1 10:48 .git -rw-r--r-- 1 ssm-user ssm-user 181 May 1 10:51 Dockerfile drwxr-xr-x 2 ssm-user ssm-user 42 May 1 10:51 src |
6.Now copy the file copied from website-example to the k8s-testconfig repository we use by using the command below.
|
sh-4.2$ git add .
sh-4.2$ git commit -am "Initial commit" [main (root-commit) ea829f5] Initial commit 3 files changed, 39 insertions(+) create mode 100644 Dockerfile create mode 100644 src/hello.conf create mode 100644 src/index.html sh-4.2$ git push Enumerating objects: 6, done. Counting objects: 100% (6/6), done. Delta compression using up to 2 threads Compressing objects: 100% (6/6), done. Writing objects: 100% (6/6), 849 bytes | 849.00 KiB/s, done. Total 6 (delta 0), reused 0 (delta 0), pack-reused 0 remote: Validating objects: 0% remote: Validating objects: 100% To ssh://git-codecommit.us-west-2.amazonaws.com/v1/repos/k8s-testconfig * [new branch] main -> main |
7. Return to the AWS Console screen, search for Codeppeline in the service search bar and click.
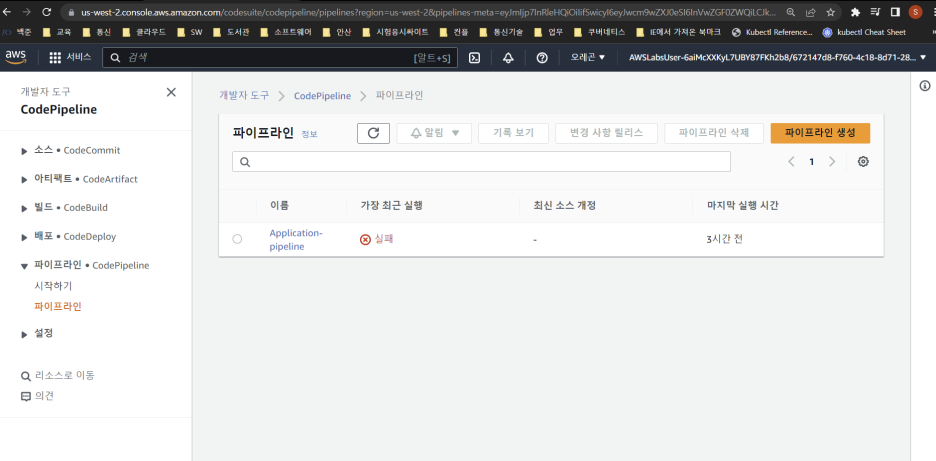
8. Click the application-pipeline in the fail state. (It has been created in advance)
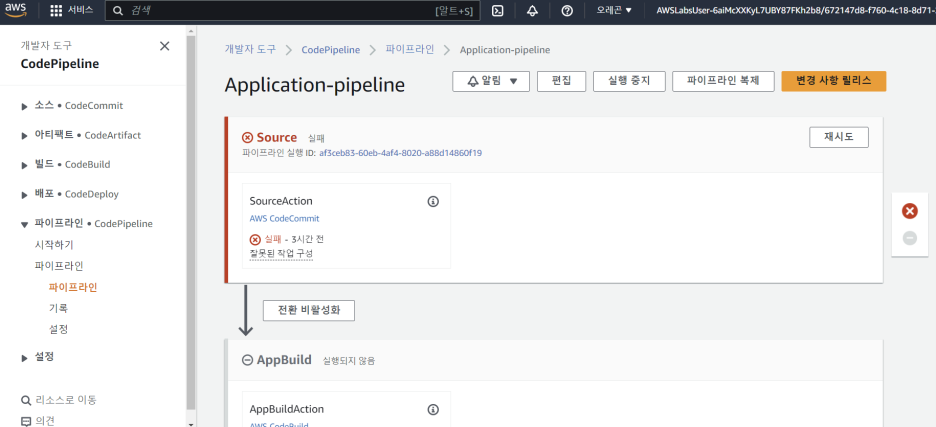
9. Click the Edit button in the top middle of the screen.
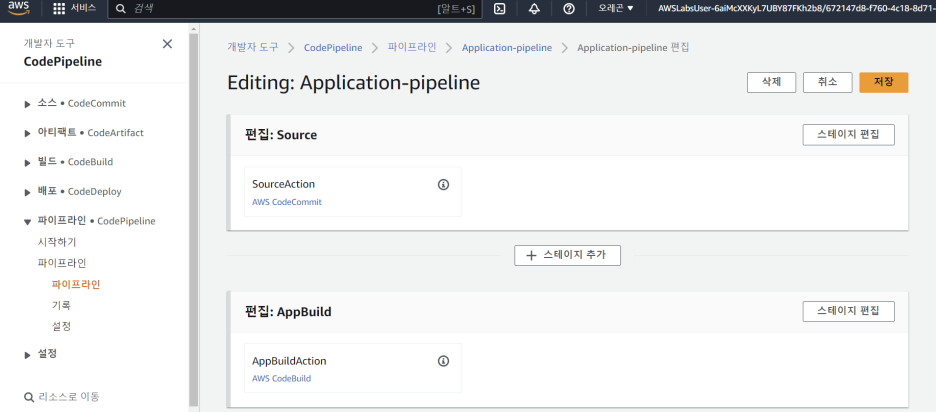
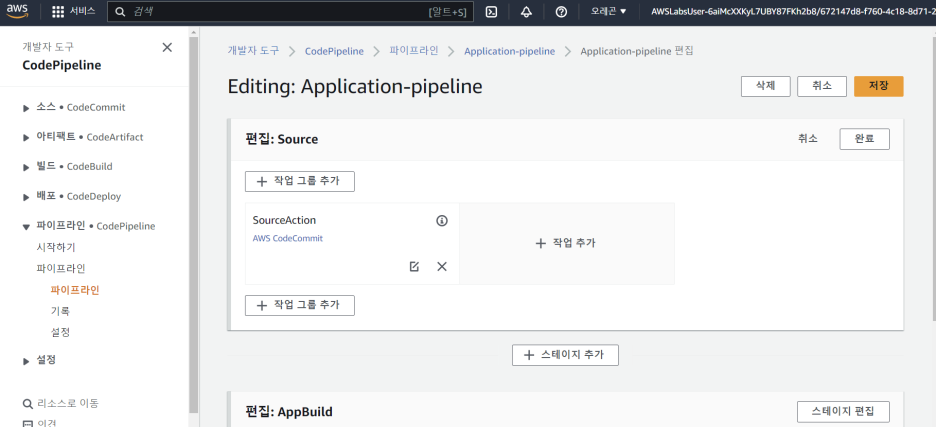
10. Edit: After the stage edit button on the right of the source Click the Edit icon

Choose AWS CodeCommit as the action provider, k8s-testconfig as the repository name, and main as the branch name. Select AWS CodePipeline as the change detection option and click Done.

11. Click Save on the screen below. After clicking Save, start Docker Image Build. This Pipiline creates an image based on DockerFIle and then pushes the image to the k8s-testconfig repository.
12. After pressing save, Application-Pipeline will start to build like the grip below. This will take some time. about 20 minutes...
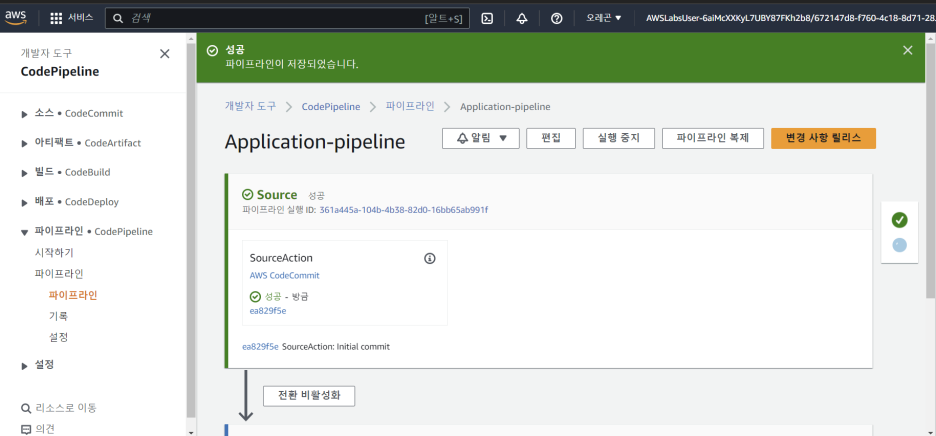
Wait until the button is activated in the middle of the right side of the screen.
13. Now, select Elastic Registry container in the Services pane of the AWS Console to verify that the created image is in the repository.

As shown in the picture above, the image tag is created. The image was successfully built and saved through Pipeline..
So, I'll end today's post here. In the next post, we will configure a cluster in EKS and deploy the image created above.
"이 포스팅은 쿠팡 파트너스 활동의 일환으로, 이에 따른 일정액의 수수료를 제공받습니다."
'AWS Cloud' 카테고리의 다른 글
| [Cloud] Using CodeCommit. (42) | 2023.07.15 |
|---|---|
| [Cloud] Using Amazon EKS Auto scaling (82) | 2023.05.18 |
| [Cloud] Using AWS CI/CD -3 create cluster and deploy by using EKS (0) | 2023.05.14 |
| [Cloud] AWS CI/CD Conf-1 create repogitory in EKS (18) | 2023.05.08 |
| [Cloud] Deploy Application in EKS (44) | 2023.05.07 |